 Mount Vernon
 Windows in Sedro-Woolley: Built for the Skagit Valley, Not Just Any Climate
Sedro-Woolley sits up the Skagit River valley from Mount Vernon, in a part of Skagit County that gets the full range of what Western Washington weather can do — long stretches of steady drizzle, wind-driven downpours off the valley, damp air that never fully dries out between storms, and a moss and mildew season that can run most of the year in shaded spots. Add in the salt-tinged marine air that moves inland from Puget Sound and the Samish flats, and you have a climate that is genuinely hard on window assemblies, not just on paint and roofing.
A window is only as good as its installation. A quality window unit installed with a shortcut flashing detail will leak in this climate. A mediocre window installed correctly, with proper flashing, sealant, and drainage, will often outlast one installed poorly. This page is about doing the installation part right, specifically for Sedro-Woolley homes.
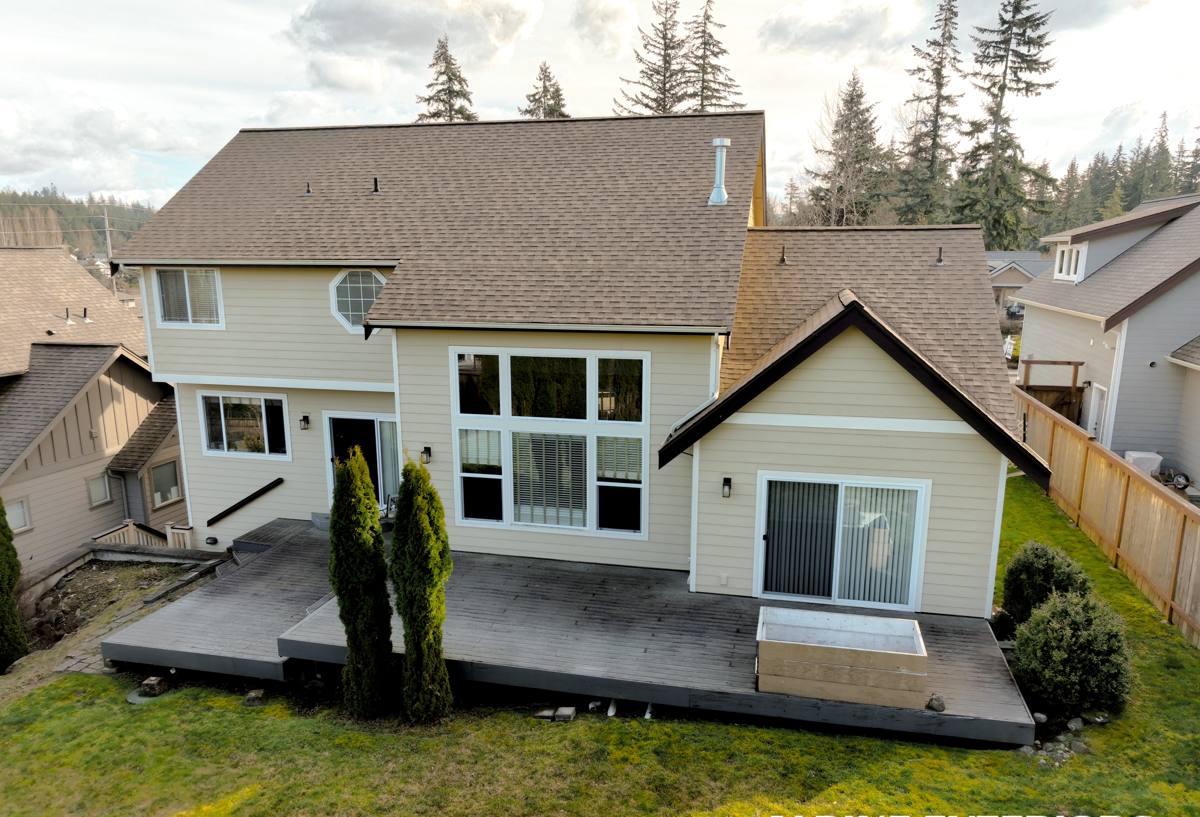
What This Climate Does to Windows Over Time
Understanding the failure pattern helps explain why we do things a certain way. In Skagit County, window problems rarely show up as a single dramatic leak. They show up gradually:
- Driving rain pushed sideways by valley wind finds gaps in flashing that would never leak in a calmer climate.
- Constant humidity keeps wood trim and sills damp longer after each storm, which is what lets rot and mildew get established.
- Moss and algae growth around window trim and sills holds moisture against the wood or siding far longer than the rain event itself.
- Salt-influenced air corrodes exposed fasteners, hinges, and metal flashing faster than it would further inland.
- Temperature swings between damp mornings and warmer afternoons cause condensation inside older or poorly sealed units, which then feeds mold at the sill.
None of this is dramatic on its own. It's cumulative. A window that was installed with a weak sill pan or no back-dam detail might look fine for three or four years before the first sign of trouble appears at the bottom corners — which is usually where we find rot when we pull old windows out in this area.
Warning Signs Worth Acting On
- Soft or discolored trim or drywall below a window, especially at the corners
- Fogging or moisture between panes on double- or triple-glazed units
- Windows that are hard to open, stick, or no longer latch tightly
- Visible daylight or a noticeable draft around the frame
- Moss or dark staining building up on the exterior trim faster than on the surrounding siding
- A noticeable rise in heating costs without an obvious cause
What a Correct Window Installation Actually Involves
Setting a window into a rough opening looks simple from the outside. The difference between a job that holds up in Sedro-Woolley's weather and one that fails in five years is almost entirely in details that aren't visible once the trim goes back on.
Flashing and Drainage
Water management around a window opening has to assume that some water will get behind the exterior cladding eventually, and give it a way out. That means a properly lapped weather-resistive barrier, correctly sequenced flashing tape or metal flashing at the sill and jambs, and a sloped sill pan so any water that does get in drains back out instead of pooling against the framing. In this climate, skipping or shortcutting the sill pan is one of the most common causes of hidden rot we see in older installations.
Sealing and Insulation
The gap between the window frame and the rough opening needs to be sealed and insulated correctly — not overpacked with expanding foam, which can bow the frame and cause the sash to bind, and not left loose, which lets moist air condense inside the wall cavity. A good installer uses a low-expansion foam or backer rod and sealant sized to the actual gap.
Exterior and Interior Finish
Exterior trim, caulking, and any flashing caps need to shed water away from the wall, not channel it toward a seam. Interior finish work should restore a tight, insulated seal without trapping moisture behind trim that can't dry out.
Choosing Materials That Hold Up Here
Frame material matters more in a wet, moss-prone climate than it does in a dry one. Here's how the common options generally compare for a home in the Sedro-Woolley area:
| Frame Material | Moisture Behavior | Maintenance | Typical Trade-offs |
|---|---|---|---|
| Vinyl | Won't rot; handles constant damp well | Low — occasional cleaning | Can't be repainted; quality varies a lot by manufacturer |
| Fiberglass | Very stable in moisture and temperature swings | Low | Higher upfront cost than vinyl |
| Wood-clad | Good if the cladding and flashing details are correct; vulnerable if water gets behind the clad exterior | Moderate to higher — interior wood may need refinishing over time | Best appearance option for some homeowners; more installation-sensitive in wet climates |
| Aluminum | Conducts cold and can condense heavily in our damp winters | Low | Not our first recommendation for this climate outside of specific architectural needs |
We don't push one brand or one material on every homeowner. What we won't do is install a product in a way that ignores how it behaves in this climate — for example, a wood-clad window installed without a fully sealed, well-flashed exterior is setting up the same rot risk the cladding was supposed to prevent.
New Construction Windows vs. Insert (Retrofit) Windows
This decision matters more here than in a drier climate, because it affects how much of the wall's water management gets rebuilt.
Insert (retrofit) windows fit inside the existing frame, leaving the surrounding trim, siding, and flashing in place. This is faster and less invasive, and it's often the right call when the existing frame and flashing are still sound. It is not the right call if there's already hidden rot or a flashing failure — installing a new window inside a compromised opening just hides the problem for a while.
New-construction (full-frame) windows require removing the old window down to the rough opening, which lets us inspect the framing, replace any damaged wood, and install fresh flashing and a proper sill pan from scratch. It costs more and takes longer, but it's the right choice whenever there's evidence of past water intrusion, or when we're already doing siding work in the area.
Part of our estimate process is telling you honestly which situation you're in — not defaulting to whichever option is easier for us.
Our Process, Start to Finish
- On-site assessment: We look at each window opening, not just the glass — checking trim, sill condition, and any signs of past moisture.
- Honest scope and quote: We tell you whether insert or full-frame replacement makes sense for each window, and why.
- Material selection: We walk through frame and glass options suited to this climate and your budget, without steering you toward the most expensive option by default.
- Removal and prep: Old units come out carefully to protect interior and exterior finishes; any rot found gets addressed before a new window goes in, not covered over.
- Flashing and installation: Sill pan, flashing, and air-sealing done in the correct sequence, with the window set plumb, level, and square.
- Interior and exterior finish: Trim, caulking, and paint or stain restored to match your home.
- Final walkthrough: We check operation, seal quality, and cleanup before we consider the job done.
What Correct Installation Costs
Window pricing varies by size, count, and material, but the bigger cost driver in a climate like ours is usually the condition of what's behind the old window, not the window itself.
| Cost Factor | Why It Moves the Price |
|---|---|
| Insert vs. full-frame | Full-frame requires more labor, new flashing, and possible framing repair |
| Hidden rot or water damage | Discovered once trim is removed; common in older Sedro-Woolley homes with aging flashing |
| Frame material | Vinyl is typically the most affordable; fiberglass and wood-clad cost more upfront |
| Glass package | Double-pane vs. triple-pane, and low-E coatings, affect both price and long-term energy performance |
| Number of windows and access | Second-story or hard-to-access windows take longer to install safely |
We'd rather quote an accurate number after seeing the actual condition of each opening than give a low estimate over the phone that grows once we start pulling trim.
Why a Crew That Already Works in Sedro-Woolley Matters
Window installation done by someone unfamiliar with this specific valley climate tends to under-detail the flashing and drainage, because it isn't second nature to plan for wind-driven rain and near-constant humidity. A crew that regularly works Sedro-Woolley and the surrounding Mount Vernon and Skagit County area already knows which details can't be skipped here — the sill pan, the flashing sequence, the material choices that hold up against moss and damp rather than just looking good on install day. That local familiarity shows up years later in whether the window is still performing, not on the day it's installed.
Getting Ready for Your Window Installation
A few things help the process go smoothly whether you're replacing one window or a whole house's worth:
- Note any windows with visible fogging, sticking, drafts, or soft trim so we can prioritize those during the assessment
- Clear furniture and window treatments from the work area ahead of time
- Let us know if you've had past water intrusion or repairs near any window, even if it's since been patched
- Ask about the specific flashing and sealing details for your project, not just the window brand
- Confirm whether your project needs a permit through the City of Sedro-Woolley or Skagit County before work begins
- Plan for interior touch-up paint or trim finishing after installation, since exact color matches aren't always available
If you're dealing with drafty, foggy, or aging windows in Sedro-Woolley, we're happy to take a look and give you a straight answer on what your home actually needs. Reach out for a free, no-pressure estimate using the form below.