 Mount Vernon
 Building New in Kulshan Ridge: Why the Install Matters More Than the Window
New construction in the Kulshan Ridge area of Mount Vernon gives you one real advantage over a remodel: the wall is open, the sheathing is exposed, and there's nothing hiding behind drywall yet. That's also the moment where a window install either gets done right for the next 30-plus years, or gets done just well enough to pass inspection. In Skagit County, where homes deal with driving rain off the valley, damp air moving in from the Puget Sound, and a moss season that can stretch from fall through spring, the margin for error on window flashing is small. Water doesn't need a big gap to find its way into a wall assembly — it needs an unsealed lap, a missed sill pan, or a nailing fin that wasn't bedded in sealant.
This page is specifically about installing windows in new-construction walls in the Kulshan Ridge area — not replacing old windows in an existing home. The materials, sequencing, and inspection points are different, and treating a new-construction install like a retrofit is one of the more common ways a brand-new house ends up with a hidden moisture problem five or ten years down the road.
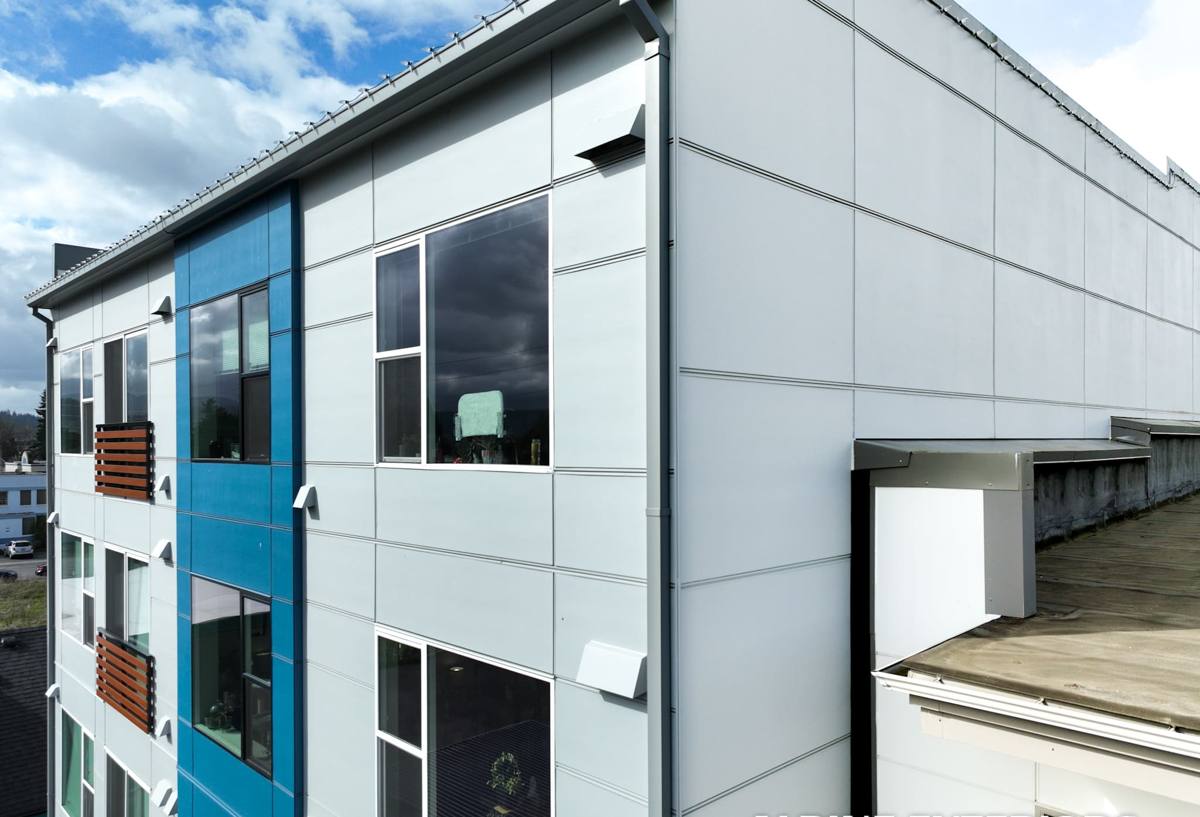
New-Construction vs. Retrofit: Why the Distinction Matters
A new-construction window has a nailing fin (sometimes called a flange) around the perimeter of the frame. That fin gets integrated directly into the weather-resistive barrier (WRB) and flashing system before siding goes on. A retrofit or "pocket" window, by contrast, gets inserted into an existing frame with the old exterior trim still in place, relying on sealant and the surrounding assembly for weatherproofing rather than a fully integrated flashing plane.
On a new build, you have the chance to do it the first way — the more durable way. That only pays off if the crew installing the windows actually sequences the flashing correctly with the house wrap, the sill pan, and the siding that follows. Get the order wrong, or skip a step to save time, and you've built a leak path into a house that hasn't even had its final inspection yet.
What Skagit County's Climate Adds to the Job
- Sustained wind-driven rain events that push water sideways against the wall, not just down
- High ambient humidity for much of the year, which slows drying if moisture does get behind the cladding
- A long moss and algae season on north- and shade-facing walls, which holds dampness against trim and sills longer than a dry climate would
- Salt-influenced air moving in off the Sound, which is harder on exposed fasteners and metal flashing over time
None of this means new-construction windows in Kulshan Ridge need to be exotic or overbuilt. It means the flashing details — the parts nobody sees once the siding is up — need to be done correctly the first time, because Mount Vernon's climate doesn't give a sloppy install much room to dry out between rain events.
What a Correct New-Construction Window Install Actually Involves
There's a specific order of operations that keeps water moving out and down, never trapped inside the wall. Skipping or reordering any of these steps is where most future leaks originate.
Sequencing, Start to Finish
- Rough opening check — verify the opening is square, plumb, and sized correctly before the window ever shows up on site
- Sill pan installation — a sloped, sealed pan at the bottom of the opening that directs any water that does get past the window back outside, not into the framing
- Back-dam or end-dam detailing — small but critical details that keep water from wicking sideways off the ends of the sill pan
- Window set and shim — the unit is set into the opening, leveled, and shimmed so it operates correctly for its lifespan, not just on install day
- Nailing fin fastened and sealed — fastened per the manufacturer's schedule, with sealant at the fin-to-sheathing interface where specified
- Flashing tape integration — jamb flashing, then head flashing, each lapped correctly with the WRB so water sheds over every layer below it, never under
- WRB (house wrap) integration — the wrap is cut, lapped, and taped back over the flashing so the whole wall reads as one continuous water-shedding plane
- Interior air seal — a separate detail from the exterior weatherproofing, this is what controls drafts and condensation risk inside the wall
Every one of these steps gets covered by siding within days or weeks. If they're wrong, nobody finds out until there's a stain on the drywall or rot in the sill years later — by which point the fix means opening up finished walls.
Choosing Window Products for a Skagit County New Build
Frame material matters less than installation quality, but it's still worth understanding the honest trade-offs for a wet, moderate-temperature climate like Mount Vernon's.
| Frame Material | Moisture Behavior | Maintenance | Typical Fit for New Construction |
|---|---|---|---|
| Vinyl | Won't rot; expands/contracts with temperature swings | Low — occasional cleaning | Common, cost-effective, reliable when installed correctly |
| Fiberglass | Very stable dimensionally, holds paint well over time | Low to moderate | Good where a painted or wood-look finish is wanted long-term |
| Wood-clad | Exterior clad protects the wood, but any breach in the cladding invites moisture into the wood core | Higher — cladding and interior wood need periodic attention | Best where interior wood aesthetics matter and upkeep is expected |
| Aluminum | Durable but conducts heat and cold, and is prone to condensation without thermal breaks | Low | Less common for residential in this climate |
We don't push homeowners toward one brand or material across the board — the right call depends on your budget, the home's design, and how much upkeep you want to take on. What we won't do is compromise on installation sensitivity: some products require tighter tolerances or specific flashing details to perform as designed, and if a product doesn't fit the wall assembly or the crew's process well, we'll say so rather than force it.
Our Process for New-Construction Window Installs in Kulshan Ridge
Working on new builds means coordinating with a general contractor's schedule, not just showing up on our own timeline. Here's roughly how it goes:
- Plan review — we look at the window schedule and rough opening sizes before units are ordered, catching sizing or swing-direction mistakes early
- Pre-install walkthrough — checking rough openings against the actual windows delivered, not just the plans
- Sill pan and flashing install — done to a consistent standard on every opening, not just the ones that are easy to reach
- Set and seal — windows installed, sealed, and integrated with the WRB before the siding crew starts
- Photo documentation of flashing before it's covered — so there's a record of what's behind the siding if it's ever needed
- Final walkthrough — operation, sealing, and trim check once the exterior is buttoned up
Because we work regularly in and around Mount Vernon and the wider Skagit Valley, we already know which details local building departments look for and which conditions — wind exposure, roof overhang depth, wall orientation — tend to matter most on a given lot.
Common Mistakes We See on New Builds
Most window problems on new construction don't come from a bad window — they come from a rushed or out-of-sequence install. The most frequent issues:
- Sealant used in place of proper flashing tape and sill pans, which fails well before the rest of the wall assembly does
- House wrap taped over the nailing fin instead of under the head flashing, which sends water behind the wrap instead of over it
- Rough openings cut oversized "to be safe," leaving gaps that get packed with insulation or foam instead of shimmed and flashed correctly
- No back-dam on the sill pan, so water that reaches the sill has nowhere to go but sideways into the framing
- Fastening schedules skipped or shortened to save time, which can void manufacturer warranties even when the window itself looks fine
Checklist: What to Confirm Before Your Windows Go In
- Rough openings verified square and correctly sized against the actual window units
- Sill pans and back-dams specified for every opening, not just ground-floor or exposed walls
- Flashing sequence (sill, jamb, head, then WRB) written into the install plan
- Fastening schedule matches manufacturer specifications for wind and structural load
- Photo documentation planned before siding covers the flashing
- Warranty terms in writing, including what voids them
Why Hiring a Crew That Already Works Kulshan Ridge Matters
New-construction window work isn't just a product installed to spec — it's a sequence of trades handing off to each other correctly. A crew that regularly works in Kulshan Ridge and the surrounding Mount Vernon area understands the coordination with framers, siding crews, and local inspectors that keeps a project moving without rework. We also know what Skagit County's weather actually does to a wall assembly over a winter, not just what a manufacturer's install guide assumes in ideal conditions. That local experience is what keeps a flashing detail from becoming a callback two years after move-in.
If you're building in Kulshan Ridge or elsewhere around Mount Vernon and want a straightforward look at what a correct window install involves for your project, we're happy to walk the plans with you. Reach out for a free, no-pressure estimate using the form below.