 Mount Vernon
 Siding in East Mount Vernon Has a Specific Job to Do
Homes on the east side of Mount Vernon sit in a pocket of Skagit County that gets the full range of what western Washington weather can throw at a house: long stretches of driving rain off the Salish Sea air mass, humid stillness that settles into yards and north-facing walls, and a moss season that can run from October clear through May. Siding here isn't just a finish — it's the primary barrier standing between that moisture cycle and your framing, sheathing, and insulation. When it's installed correctly, it sheds water, resists rot, and stays looking clean. When it's installed wrong, or when the wrong material is used, the problems don't show up on day one. They show up two, five, ten years later as soft trim, streaked walls, or siding that's swelling at the seams.
We install siding specifically for this kind of climate, and East Mount Vernon is one of the neighborhoods we work in regularly. That matters more than it sounds like it should — a crew that already knows how water moves across a house in this part of the county makes different calls on flashing, clearances, and fastening than a crew that's used to a drier region.
Why the Local Climate Changes the Job
Three conditions drive almost every siding decision we make on a Skagit County home:
- Driving rain: Wind-driven rain doesn't just run down a wall, it gets pushed sideways and up under laps, around trim, and into any gap in the water-resistive barrier. Flashing details and lap coverage have to be right the first time.
- Persistent moss and organic growth: Shade, moisture, and mild temperatures year-round are ideal moss conditions. Siding material and finish matter here — some products hold onto moisture and organic growth far more than others.
- Salt-tinged marine air: Proximity to Puget Sound and the Skagit River delta means a mild but persistent corrosive element in the air. Fasteners, flashing metal, and trim details need to be chosen with that in mind, not just for a "typical" Northwest install.
None of these conditions are dramatic on their own. The damage they cause is cumulative and slow, which is exactly why so many East Mount Vernon homes end up with siding problems that were preventable with the right product and the right installation details from the start.
What a Correct Siding Installation Actually Involves
Siding installation is often sold as a straightforward swap: old boards off, new boards on. In a climate like this, that's not enough. A correct installation is really a system of layered details, and skipping any one of them is where the failures start.
The water-resistive barrier comes first
Before a single piece of siding goes up, the wall needs a continuous, properly lapped water-resistive barrier (WRB) with all penetrations — outlets, hose bibs, light fixtures, vents — sealed and flashed correctly. This layer is what actually keeps bulk water out of the wall assembly if any moisture gets past the siding itself, which it eventually will at seams, corners, and trim edges.
Flashing at every transition
Windows, doors, decks, roof-to-wall intersections, and any horizontal trim need metal or membrane flashing that directs water back out, not into the wall. This is the single most common place we find shortcuts on older installs, and it's almost always the first place trouble shows up.
Proper clearances and fastening
Siding needs to sit above grade, decks, patios, and roof lines by the manufacturer's minimum clearance — not "close enough." Fasteners need to be corrosion-resistant and driven to the correct depth; overdriven or underdriven fasteners are a leading cause of premature siding failure, especially with fiber cement products.
Caulking only where it belongs
Caulk is a maintenance item, not a waterproofing strategy. Correct installs rely on flashing and lap geometry to shed water, with sealant used sparingly at specific joints called out by the manufacturer — never as a substitute for proper detailing.
Why We Install James Hardie Fiber Cement Only
We made the decision to install James Hardie fiber cement siding exclusively, and we don't install vinyl, LP SmartSide, or other fiber cement alternatives. That's not a marketing position — it's a standard we hold because of what this climate does to a house over time.
Fiber cement is non-combustible and dimensionally stable, meaning it doesn't expand and contract with moisture the way wood-based products can, which matters directly in a climate where the material is wet more often than it's dry. James Hardie's ColorPlus factory finish is baked on under controlled conditions and backed by its own finish warranty, which holds up better against the kind of persistent damp and moss exposure East Mount Vernon sees than field-applied paint typically does. Hardie also engineers specific product lines (their HZ5 designation) for regions with heavy moisture exposure, which the Pacific Northwest qualifies as.
We're happy to talk through the honest trade-offs of other materials if you're comparing options — every product has a reasonable case behind it. But when we're the ones putting our name on the install, we install what we've found holds up best under repeated exposure to this specific combination of rain, humidity, and moss pressure.
Our Installation Process
Every job follows the same sequence, whether it's a full re-side or a single wall replacement:
- On-site assessment: We check the existing siding, sheathing, and trim for hidden moisture damage before quoting anything, since that determines whether repair work is needed underneath.
- Tear-off and sheathing inspection: Old siding comes off in sections so we can inspect the sheathing as we go, not just at the end.
- Repair and prep: Any soft or damaged sheathing gets replaced. This is the stage that gets skipped by crews trying to move fast, and it's the stage that determines whether the new siding lasts.
- WRB and flashing installation: A continuous barrier goes up first, followed by flashing at every window, door, and penetration.
- Hardie panel or plank installation: Installed to James Hardie's published fastening schedule and clearance requirements, not shortcuts based on "how it's always been done."
- Trim, caulking, and final detail work: Sealant applied only where specified, trim finished to match the home.
- Walkthrough and cleanup: We walk the job with the homeowner before we consider it done.
What Drives the Cost of a Siding Project
| Factor | Why It Matters |
|---|---|
| Home size and wall complexity | More corners, dormers, and trim details mean more flashing and labor time, not just more material. |
| Condition of existing sheathing | Hidden rot found during tear-off adds repair cost but is far cheaper to fix now than after new siding is up. |
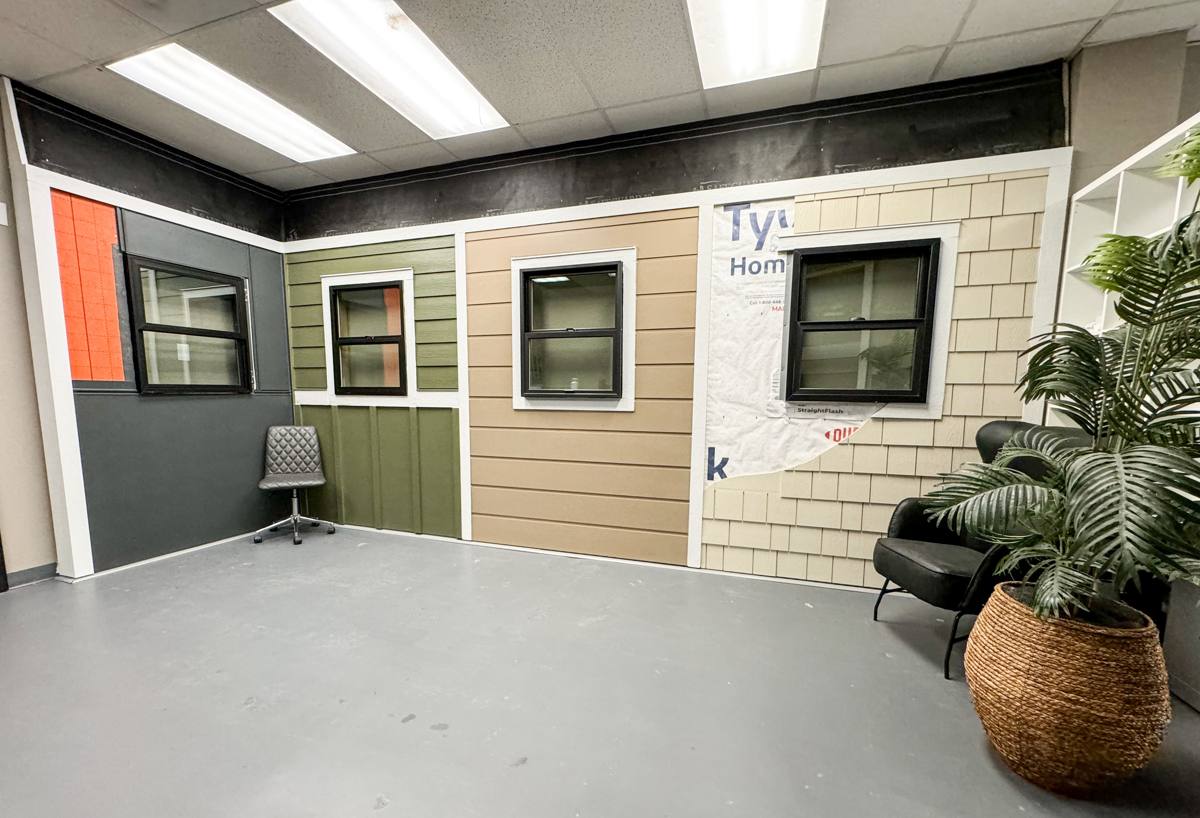
| Siding profile chosen | Lap siding, panel siding, and shingle-style Hardie products carry different material and install labor costs. |
| Trim and accent work | Board-and-batten accents, window trim upgrades, and fascia work add cost but also add the details that keep water out. |
| Access and site conditions | Slopes, tight lot lines, and landscaping near the foundation can affect equipment access and labor time. |
We give homeowners a real number after we've actually looked at the house — not a phone estimate based on square footage alone, since the condition underneath the old siding is often the biggest swing factor.
Signs Your East Mount Vernon Home May Need New Siding
- Soft spots when you press on siding or trim, especially near the bottom courses or window sills
- Visible moss or dark streaking that returns quickly after cleaning
- Paint that's peeling, bubbling, or needing repainting more often than every 5-7 years
- Warping, buckling, or boards that no longer sit flat against the wall
- Gaps opening up at seams, corners, or around trim
- A musty smell or visible staining on interior walls that share an exterior wall
Any one of these on its own might just need a repair. Several together, especially on a home that's original siding from a couple decades back, usually means it's time to talk about a full replacement before the damage spreads into the framing.
Why Hiring a Crew That Already Works in East Mount Vernon Matters
Siding crews that work all over western Washington aren't wrong for the job, but a crew that regularly works East Mount Vernon and the surrounding Skagit County area has already seen how this specific mix of rain exposure, tree cover, and marine air plays out on real houses in this neighborhood. That shows up in small decisions — where extra flashing gets added even though it's not strictly required, which corners get extra attention because that's where we've seen problems before, how much clearance to leave above grade given the drainage on a typical lot here. None of that is guesswork when you've done the work in the area repeatedly.
It also means a shorter feedback loop if something needs a look after the fact — we're not driving in from out of the area for a warranty check or a question six months after the job is done.
Living With Hardie Siding After Installation
Correctly installed James Hardie siding is low-maintenance, not no-maintenance. A rinse-down once or twice a year knocks back moss and grime before it sets in, and it's worth walking the exterior after major storms to check that caulking at trim joints hasn't opened up. Keep gutters clear and downspouts directed away from the foundation, since standing water at the base of a wall is one of the few things that can undermine even a well-installed siding job over time. Beyond that, the ColorPlus finish and the material itself are built to handle the day-to-day moisture load this area produces without special attention.
If your East Mount Vernon home's siding is showing its age, or you're planning ahead of a problem rather than reacting to one, we're glad to take a look and talk through what we'd actually recommend for your house. There's no cost and no pressure to get an estimate — just a straight answer based on what we see on your walls.