 Mount Vernon
 Why New-Construction Windows in Anacortes Need Special Attention
Anacortes sits right up against Fidalgo Bay and the Salish Sea, which means homes here deal with a combination of conditions you don't see everywhere in Skagit County: salt-laden air, wind-driven rain off the water, and long stretches of damp, overcast weather that can run from fall through spring. When you're building new, the window installation is one of the few chances you get to build in protection against all of that from day one, rather than fighting it later.
"New-construction" windows are different from replacement windows in an important way — they have a nailing fin that gets integrated directly into the wall's weather-resistive barrier (WRB) and flashing system before siding goes on. Done right, this creates a fully sealed, layered defense against moisture. Done wrong, or done by a crew that's used to inland installs without much thought for coastal exposure, it creates a hidden path for water and salt air to work into the wall assembly — and you won't see the problem until years later when it's a rot or mold issue instead of a five-minute fix.
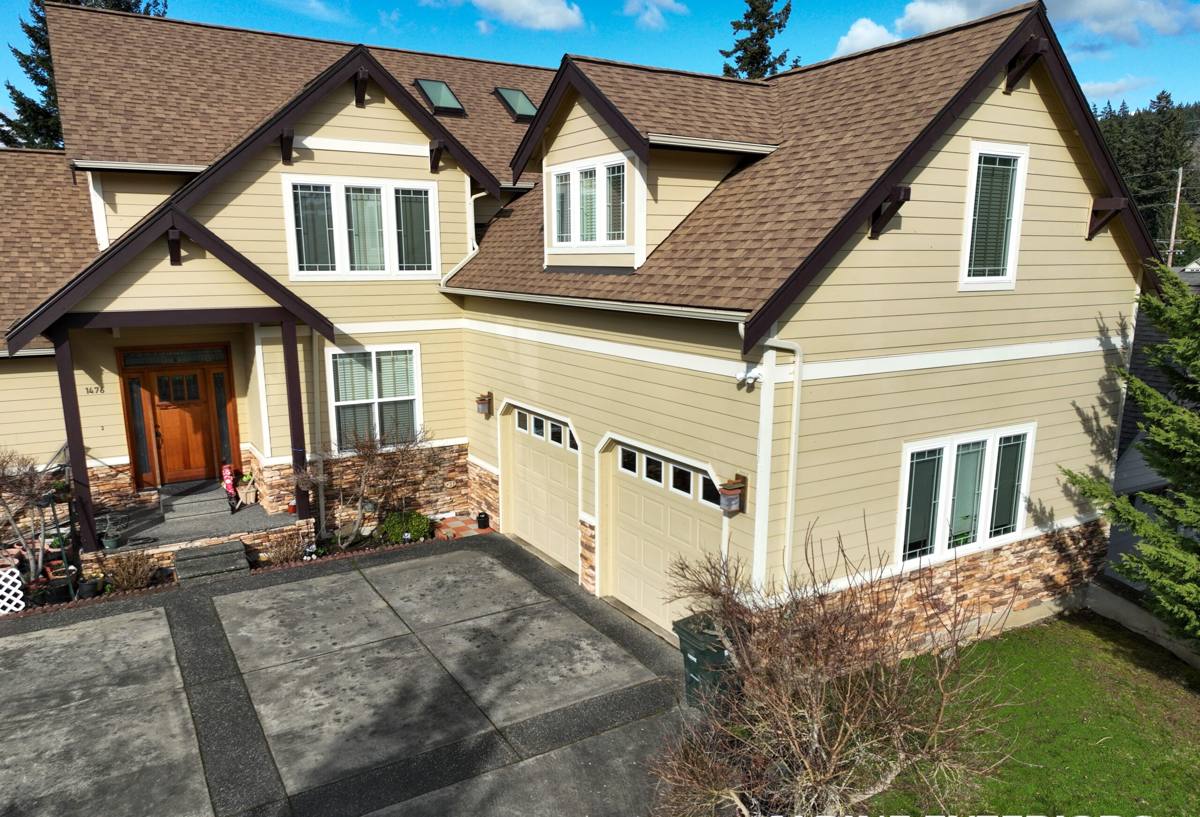
What Anacortes' Climate Actually Does to a Window Opening
Salt Air
Airborne salt from the bay accelerates corrosion on unprotected fasteners, cheaper window hardware, and some flashing metals. It also tends to hold moisture against surfaces longer than dry inland air would. That's not a reason to panic about window choice, but it is a reason to use corrosion-resistant fasteners and flashing tape rated for the exposure, and to be deliberate about which hardware and cladding finishes go on windows facing open water or prevailing wind.
Driving Rain
Wind off the water doesn't just fall — it pushes rain sideways into wall assemblies, especially on west- and southwest-facing elevations. A window installed with only "pretty good" flashing might handle a calm rain fine and still leak during a windstorm. This is why sill pan flashing and properly lapped WRB integration matter more here than in a sheltered inland lot.
Long Moss and Damp Season
Skagit County's extended wet season means any water that does get behind cladding or trim has months to sit before things dry out. Moss and algae growth on shaded, north-facing walls also holds moisture against surfaces longer. For new construction, the practical takeaway is that window and trim details should assume slow drying, not quick drying, and be built with that in mind — proper flashing laps, back-ventilated trim details where appropriate, and materials that tolerate sustained dampness.
What a Correct New-Construction Window Installation Involves
Regardless of window brand, the sequence and details matter as much as the product itself. A correct install in this climate generally includes:
- Sill pan flashing installed before the window ever goes in, sloped to drain any incidental water back to the exterior
- Self-adhered flashing tape at the sill, jambs, and head, integrated in the correct shingle-lap order (sill first, then jambs, then head, so water always sheds outward and downward)
- Proper integration with the house's WRB (weather-resistive barrier) so the window becomes part of one continuous drainage plane, not an interruption in it
- A head flashing detail (drip cap or integrated head flange) so water is directed away from the top of the window rather than pooling or seeping
- Backer rod and quality exterior sealant at appropriate joints — not sealant used as a substitute for proper flashing
- Corrosion-resistant fasteners appropriate for near-marine exposure
- Correct shimming and squaring so the window operates properly and doesn't stress the frame or compromise the seal over time
None of this is exotic. It's standard best-practice window installation. The issue in coastal Skagit County isn't that these methods are unknown — it's that skipping a step is far less forgiving here than it would be in a drier, more sheltered location.
Framing, Siding, and Window Sequencing
On new builds, window installation doesn't happen in isolation — it has to be coordinated with framing tolerances, the WRB installation, and whatever siding or cladding is going on afterward. A few sequencing details that matter in practice:
- Rough openings need to be checked for square and correct size before windows arrive, since field modifications after delivery are more expensive and more likely to compromise flashing integrity
- The WRB should be installed and lapped correctly before window flashing begins, not patched around windows afterward
- Siding profiles and trim details (especially around window casings) should be planned with drainage in mind — this is where a crew that also installs siding has an advantage, because we're thinking about how the window flashing and the siding's own drainage plane will work together, not treating them as two unrelated trades
This is one of the practical benefits of hiring a siding contractor for new-construction window work rather than treating windows and siding as fully separate scopes: the flashing at the window-to-siding transition is exactly where most long-term leaks originate, and it's much easier to get right when one crew is accountable for both sides of that joint.
Choosing Window Products for This Exposure
We don't push one brand as the only acceptable option, but we do apply some honest standards when helping homeowners choose for an Anacortes build:
| Factor | Why It Matters Here |
|---|---|
| Frame material corrosion resistance | Salt air is harder on some hardware and finishes than inland exposure; we favor products with documented coastal-use performance |
| Glazing / seal warranty terms | Sustained dampness stresses seals over time; a strong manufacturer warranty on the insulated glass unit reduces your long-term risk |
| Compatible flashing systems | Some window lines have manufacturer-specified flashing details; following them preserves the warranty and avoids improvised solutions |
| Finish/color durability near salt air | Certain factory finishes hold up better to salt exposure and UV than others over a 15-20 year horizon |
| Local parts and service availability | If a part ever needs replacing, availability through a regional supplier saves you a long wait |
We're happy to walk through specific product lines and trade-offs once we know your build's exposure (waterfront-facing vs. more sheltered lot, elevation, roof overhang depth), since those details change what actually matters most for your situation.
Our Process for New-Construction Window Jobs
For new builds in Anacortes, our process generally looks like this:
- Plan review and rough opening check — we confirm opening sizes and orientation against the window schedule before anything is installed
- WRB and flashing plan walkthrough — we coordinate with the builder or GC on how the weather barrier, window flashing, and siding drainage plane will tie together
- Sill pan and flashing installation — done in correct sequence, with exposure-appropriate materials
- Window setting, shimming, and fastening — squared, leveled, and fastened per manufacturer spec with corrosion-resistant hardware
- Head flashing and sealant detailing — finished to shed water outward and downward, not trap it
- Final inspection — checking operation, seals, and flashing laps before siding closes the assembly in
We document flashing details as we go, since once siding covers the wall, those details aren't visible again — and if a warranty question ever comes up years down the line, having a record of how the opening was built matters.
Why It Matters to Hire a Crew That Already Works Anacortes
A window crew that mostly works drier, more sheltered inland sites can do fine work and still under-build for a waterfront-adjacent Anacortes lot, simply because the failure modes they're used to guarding against aren't the same ones you'll face here. A crew that regularly works Anacortes and the surrounding Skagit County coastline already knows which elevations tend to catch the worst wind-driven rain, how much drying time to assume in a wet season, and which flashing and fastener choices hold up against salt air over the long run. That local pattern recognition is hard to fully replace with a spec sheet.
It also matters for coordination on new builds specifically — being available to walk a site during framing, catch a rough-opening issue before windows arrive, and communicate directly with your GC on scheduling isn't something a crew based far outside the area can always offer.
Signs of a Problem Job (What to Watch For Later)
Even on an existing new build, it's worth knowing what a compromised window installation eventually looks like, since catching it early is far cheaper than catching it late:
- Staining or discoloration on interior sill or wall surfaces below a window
- Soft or spongy trim/casing around a window exterior
- Visible gaps or failed sealant at window-to-siding joints
- Musty smell near an exterior wall with no obvious source
- Moss or persistent dampness concentrated right around a window opening rather than spread evenly across a wall
Any of these on a relatively new build is worth a prompt inspection rather than a wait-and-see approach, given how much longer things stay wet in this climate once water does get in.
If you're planning new construction in Anacortes and want the window installation done with this climate actually in mind, we're glad to walk your plans and site with you. Reach out for a free, no-pressure estimate using the form below.