 Mount Vernon
 Building New in West Mount Vernon? The Windows Have to Earn Their Keep
If you're framing a new home or a major addition in West Mount Vernon, the windows are one of the few components that have to perform on day one and keep performing for decades. Unlike a replacement window that drops into an existing, already-flashed opening, new-construction windows are installed with a nailing fin directly into the rough opening, tied into the house wrap, and sealed as part of the building envelope. Get that sequence wrong and you don't find out for a year or two — usually after the first hard winter, when water starts showing up somewhere it shouldn't. Get it right, and the window becomes one of the most weathertight parts of the house.
We install new-construction windows across Skagit County, and West Mount Vernon comes with its own set of conditions worth planning around before the windows ever arrive on site.
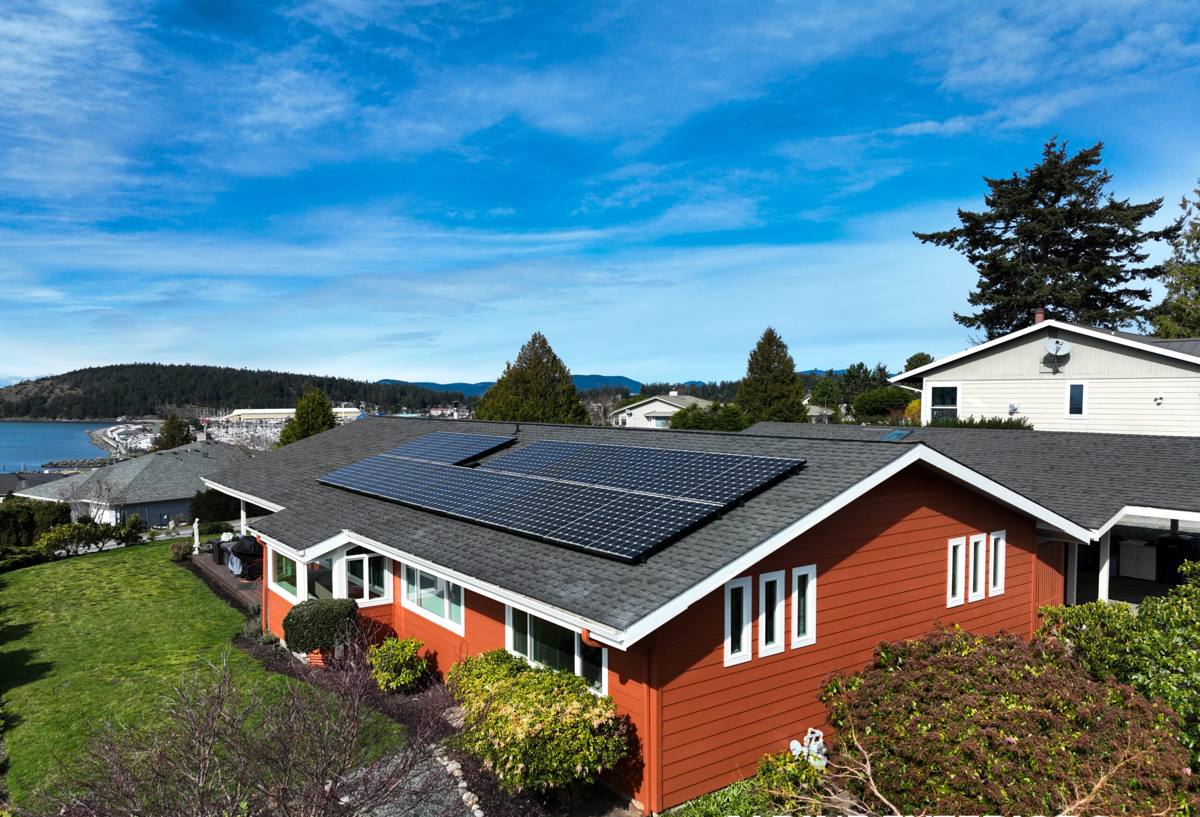
What This Corner of Skagit County Does to a Window Opening
Mount Vernon sits close enough to Skagit Bay and Padilla Bay that homes here deal with a mix of salt-tinged marine air, long stretches of driving rain off the water, and shaded, damp conditions that keep moss and algae active for much of the year. None of that is dramatic on its own, but it adds up over the life of a window opening.
- Salt air accelerates corrosion on exposed fasteners, hardware, and unprotected metal flashing — it doesn't take a beachfront lot to feel this, just consistent exposure over years.
- Driving rain, especially wind-driven rain that hits window heads and sills at an angle, tests the flashing detail far more than a light vertical rain ever would. This is where most window leaks actually originate — not the glass or the frame, but the transition between the window and the wall.
- A long moss and algae season means anything horizontal — sills, trim ledges, low-slope window heads — holds moisture longer than it should. That moisture has to have somewhere to go, or it sits against wood trim and sheathing.
None of these are exotic problems. They're steady, cumulative ones, which is exactly the kind of problem good flashing and correct sequencing solve for and shortcuts don't.
New-Construction vs. Replacement Windows — Why the Distinction Matters
Homeowners and even some builders use these terms loosely, but they describe two different installation methods with different failure points.
| Factor | New-Construction Window | Replacement (Insert) Window |
|---|---|---|
| Installed into | Bare rough opening, before siding | Existing window frame left in place |
| Flashing access | Full access to sheathing and WRB | Limited — old flashing often stays hidden |
| Water management | Built fresh: sill pan, WRB integration, head flashing | Relies partly on the original opening's condition |
| Best used when | New builds, additions, or full siding tear-off | Existing siding stays in place |
| Long-term risk if done wrong | Concealed leaks behind new siding | Leaks masked by old trim until damage is advanced |
On a new build or addition in West Mount Vernon, you have the rare advantage of building the water management system correctly from bare sheathing outward, rather than working around what's already there. That's worth doing properly the first time — it's far cheaper than diagnosing a hidden leak three years after the siding goes on.
What a Correct New-Construction Install Actually Involves
The Sill Pan Comes First
Before a window ever sits in the opening, the rough sill should have a sloped, sealed pan — usually a flexible flashing membrane formed to shed any water that gets past the window back outward, not into the wall cavity. In a climate with sustained rain like ours, skipping or rushing this step is one of the most common causes of rot at the base of a window years later.
Flashing Sequenced with the Weather-Resistive Barrier
Flashing tape and the house wrap have to be layered correctly — jamb flashing over the sill pan, the window's nailing fin over the jamb flashing, and head flashing lapped over the top of the window and tucked behind the WRB above it. Water has to be directed downward and outward at every layer, like shingles. Reverse any one of those laps and you've built a funnel instead of a barrier.
Fastening and Air Sealing
Nailing fins get fastened per the manufacturer's schedule — not just enough nails to hold the window in place, but the full pattern that keeps it structurally sound under wind load. Interior air sealing (low-expansion foam or backer rod and sealant, not full-expanding foam that can bow a frame) keeps conditioned air in and drafts out without distorting the window.
Trim and Exterior Detailing
Once the window is sealed in, exterior trim and siding integration finish the job. Given the moss and algae pressure here, we pay attention to how trim sheds water and whether horizontal surfaces are sloped enough to drain rather than hold moisture against the wood.
Choosing a Window That Holds Up to This Exposure
Material choice matters more on a home that will face years of salt-tinged, wet air than it does somewhere drier. Our general approach:
- Vinyl — a solid, low-maintenance choice for most new construction; welded corners and quality weatherstripping matter more than brand names.
- Fiberglass — more dimensionally stable across temperature swings, holds paint well, and resists the expansion/contraction cycling that marine climates cause over time.
- Wood and wood-clad — attractive but higher maintenance in a climate this consistently damp; we're upfront that these need more diligent upkeep on exposed elevations, and we'll say so rather than oversell a product that will add work down the line.
- Hardware and fasteners — we favor corrosion-resistant hardware on exterior-exposed components given the salt content in the air here, rather than standard hardware that's fine inland but not on this side of the county.
We don't push a single brand as the answer for every project. We'll talk through what you're building, your budget, and your maintenance appetite, and recommend the product that actually fits — not the one with the best margin.
Our Process, Start to Finish
- Plan review and rough opening check — we confirm window sizes against the framing plan before anything is ordered, so there are no surprise gaps or trim-outs later.
- Product selection — we walk through material, glazing, and performance options suited to a West Mount Vernon exposure, with honest trade-offs on cost and maintenance.
- Sill pan and flashing installation — built and lapped correctly before the window goes in, every time, not treated as an optional step.
- Window setting and fastening — set plumb, level, and square, fastened to the full manufacturer schedule.
- Air sealing and interior finish prep — sealed without distorting the frame, ready for interior trim.
- Exterior integration — head flashing, trim, and siding tie-in detailed to shed water and resist the moss and algae buildup common in shaded, damp yards.
- Final walkthrough — we check operation, seals, and drainage before we call the job done.
What Affects Cost on a New-Construction Window Job
| Factor | Why It Moves the Price |
|---|---|
| Window count and size | More openings and larger units mean more material and labor per house |
| Material | Vinyl, fiberglass, and wood-clad carry different unit costs and install time |
| Glazing package | Upgraded low-E coatings or gas fills add cost but pay back in comfort and efficiency |
| Wall complexity | Tall walls, gables, and hard-to-access openings add labor time |
| Flashing detail | Doing sill pans and head flashing correctly takes more time than a rushed install — and it's not optional in this climate |
| Site conditions | Scaffolding or lift access on multi-story sections adds to the job |
We give straightforward, itemized estimates rather than a single lump number, so you can see what's driving the cost and adjust the scope if needed.
Why It Matters to Hire a Crew That Already Works This Side of Mount Vernon
Flashing details that work fine in a dry inland climate aren't automatically sufficient here. A crew that regularly works West Mount Vernon has already seen how driving rain behaves against west- and south-facing walls, how quickly moss establishes on north-facing trim, and where builders in this area tend to cut corners that show up as callbacks two winters later. That local pattern recognition is worth more than a generic install crew working from a national checklist — it's the difference between a window that's technically installed and one that's actually built for where it sits.
A Quick Checklist Before You Sign Off on Your Window Package
- Does the quote specify sill pan flashing, not just "standard install"?
- Is the fastening schedule based on the manufacturer's requirements for your wind exposure?
- Are corrosion-resistant fasteners and hardware specified for exterior-exposed elevations?
- Does the trim and siding detail slope surfaces to drain rather than pool water?
- Is the glazing package suited to your orientation — more shading on north/east walls, more direct exposure on south/west?
- Does the contractor walk the finished install with you before calling it complete?
If your builder or window supplier can't answer those plainly, it's worth asking more before the windows go in — the flashing is invisible once the siding is on.
If you're planning new construction or an addition in West Mount Vernon, we're happy to look at your plans and give you a straightforward, no-pressure estimate. Use the form below to get started.