 Mount Vernon
 Building New in Little Mountain: Why Window Installation Isn't an Afterthought
If you're framing a new home in the Little Mountain area outside Mount Vernon, the windows are one of the few components that have to perform two jobs at once: they're a structural penetration in your building envelope, and they're the thing that decides whether your heating bill and your indoor comfort are reasonable for the next 30 years. New-construction window installation is a different trade than replacing old windows in an existing wall. There's no old frame to reference, no existing flashing to inspect or repair, and no shortcuts available — the window and the weather-resistive barrier (WRB) have to be integrated correctly the first time, because once siding and trim go on, nobody's checking your flashing laps again without tearing something apart.
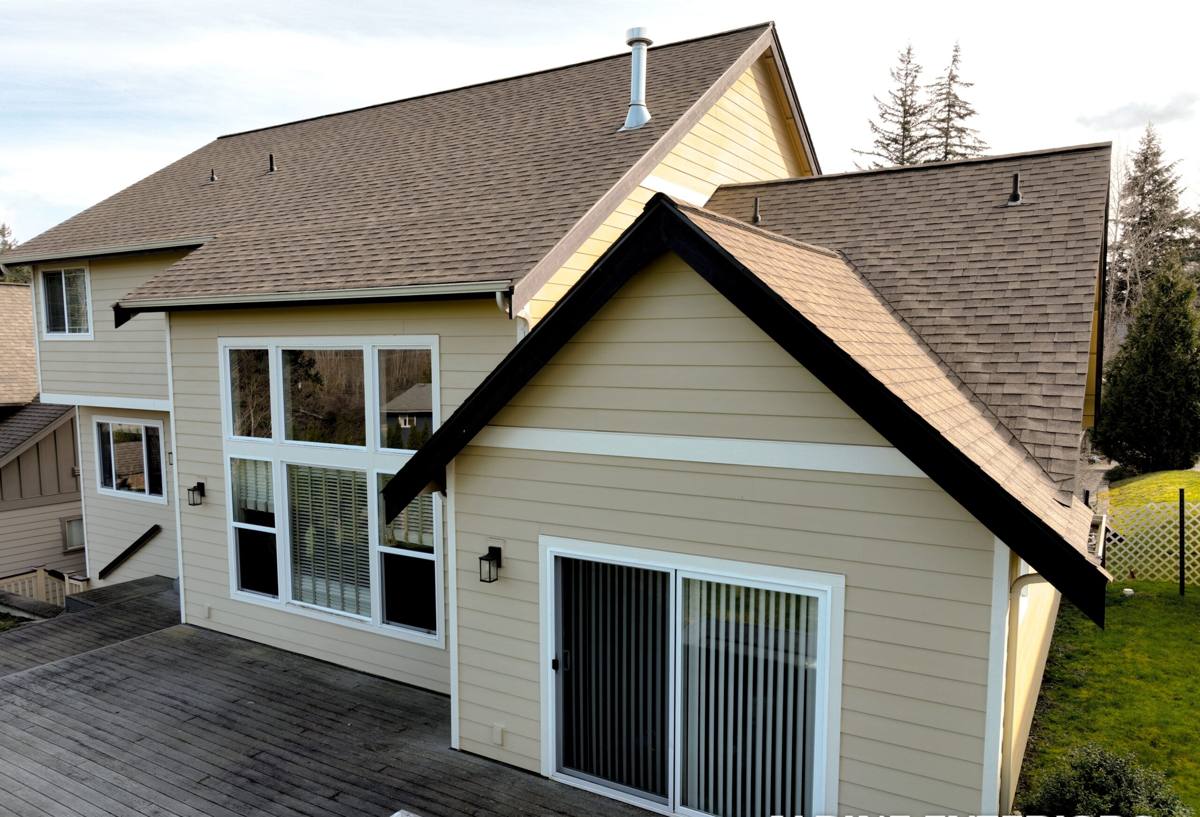
Little Mountain sits above the valley floor with more tree cover and exposure variation than a flat in-town lot — some building sites get more wind-driven rain off approaching fronts, others sit in near-permanent shade that keeps surfaces damp longer after a storm passes. Either way, the windows going into a new shell here need to be installed with Skagit County's wet-side climate in mind from the first nailing fin, not corrected for later.
What Skagit County's Climate Actually Demands
Mount Vernon and the surrounding Skagit Valley get a long, wet fall-through-spring stretch, salt-tinged marine air moving up from Puget Sound and the Sound's inlets, and enough shaded, slow-drying surfaces to keep moss and algae established on north- and west-facing exteriors for much of the year. None of that is exotic — it's just persistent, and persistent moisture exposure is exactly what exposes a mediocre window installation.
- Driving rain: Wind-driven rain doesn't just hit a window — it gets pushed sideways and up under trim if the flashing sequence isn't shingled correctly (bottom pan first, sides, then head flashing lapped over the WRB, always shedding down and out).
- Salt-influenced air: Airborne salt accelerates corrosion on lower-grade fasteners, hinges, and cladding-to-frame hardware. It's a slow problem, which is exactly why it gets ignored on cheaper installs.
- Moss and prolonged dampness: Shaded elevations and tree-covered lots hold moisture longer after rain. Any small gap in sealant or flashing becomes a standing-water or wicking point instead of a quick-dry nuisance.
- Temperature swings: Cool, damp nights and warmer days mean condensation risk inside a poorly sealed rough opening, which shows up later as hidden framing rot — not a visible leak.
Getting the Installation Sequence Right
Flashing and the WRB Come First
On a new build, the window opening is a raw hole in the sheathing with a housewrap or building paper layer already run (or being run as we work). The single most important part of a new-construction install is the order of operations: sill pan flashing installed and sloped to drain outward, WRB integrated so water sheds over — never behind — each layer, jamb flashing next, and head flashing last, lapped over the WRB above the opening. Get that sequence backwards even once and you've built a funnel instead of a window.
Nailing Fin vs. Block Frame
Most new-construction vinyl and fiberglass windows use a nailing fin that gets flashed directly to the sheathing before siding goes on. Some fiberglass and wood-clad lines use a block-frame or receptor system instead. Both work when installed to spec — the failures we see come from mixing installation methods, skipping the sill pan, or relying on caulk alone to do a flashing detail's job. Caulk is a backup layer, never the primary water management strategy.
Shimming and Squaring
A window that's out of square by even a small margin puts uneven stress on the sash, which shows up years later as a window that won't latch cleanly or a corner seal that's opened up under wind load. On a new build we shim, square, and fasten to the frame manufacturer's schedule — not "close enough" — because there's no old frame to blame later if it's wrong.
Choosing Frame Materials for This Climate
New construction gives you a real choice of frame material before anything is locked in, unlike a replacement project where you're often matching an existing rough opening. Here's how the common options actually compare for a Little Mountain build, judged on how they hold up to sustained damp and salt-influenced air rather than on price alone.
| Frame Material | Moisture & Salt Air Behavior | Maintenance | Typical Fit |
|---|---|---|---|
| Vinyl | Won't rot or corrode; UV can affect darker colors over decades | Low — occasional cleaning | Most cost-conscious new builds |
| Fiberglass | Very stable dimensionally in swings between wet and dry, minimal expansion/contraction | Low | Builds wanting long service life with less frame movement |
| Wood-clad | Interior wood needs the exterior cladding and seals to stay fully intact — a compromised seal lets moisture reach wood from inside | Higher — cladding seams and interior finish need monitoring | Homeowners prioritizing an interior wood look who accept the upkeep |
| Aluminum | Conducts cold and can corrode faster in salt-influenced air without a quality finish | Moderate | Less common on residential new builds here |
We'll talk through these trade-offs honestly during your estimate — the right call depends on your budget, your home's exposure on the lot, and how much upkeep you actually want to sign up for.
Meeting Washington's Energy Code, Not Just the Minimum
New construction in this part of Washington falls under the state energy code's requirements for U-factor (how much heat the window loses) and, in some cases, solar heat gain coefficient depending on orientation and glazing area. Meeting code is the floor, not the goal. On a Little Mountain build with more tree shading on some elevations and more open sun exposure on others, window selection often varies wall by wall — a lower U-factor on north- and west-facing walls that take the brunt of driving rain and wind, and glazing tuned for the exposure that wall actually gets. We size and spec per elevation rather than ordering one spec for the whole house, which is a detail that gets skipped when windows are picked purely off a supplier's stock list.
Our Process on a New-Construction Job
- Plan review: We look at your window schedule against the actual framed openings — rough openings drift from plans more often than builders like to admit.
- Coordination with your GC or framer: Windows go in at a specific point in the build sequence, tied to when the WRB is run and before siding starts. We work your timeline, not around it.
- Flashing and installation: Sill pan, WRB integration, jamb and head flashing, shim, square, fasten to spec.
- Sealant and interior finish prep: Exterior sealant as the backup layer, interior air sealing so conditioned air isn't leaking into the wall cavity.
- Walkthrough: We check operation, sightlines, and seal integrity before we call it done — not after your siding crew has already covered the evidence.
Checklist: Coordinating Windows on Your New Build
- Confirm rough opening sizes match the actual window order, not just the architectural plans
- Decide frame material and glazing spec per elevation before ordering, based on sun and wind exposure
- Confirm who installs the sill pan flashing and WRB integration — this should never be a gap between trades
- Schedule window install before siding starts, with enough buffer for weather delays common in the Skagit Valley's wet season
- Verify code-required U-factor and any solar heat gain requirements are met for your specific window sizes and orientations
- Walk the installed windows before siding covers the flashing — this is your only real chance to inspect it
Why a Crew That Already Works Little Mountain Matters
Little Mountain's mix of elevation, tree cover, and lot-by-lot exposure means two homes a few hundred feet apart can need genuinely different window and flashing decisions. A crew that's done new-construction installs in this specific area already knows which elevations tend to take the worst of the driving rain, where moss and shade linger longest, and how the local marine air factors into hardware and fastener choices. That's not something you get from a general contractor's out-of-town window sub who's never worked this hillside before — it's a hyperlocal knowledge, hyperlocal quality thing that shows up either as a house that's still tight in ten years or a house that isn't.
Mistakes We See on Other Builders' Jobs
Our professional standard on every new-construction install includes a few things we simply won't skip, because we've been called back to fix the consequences on homes we didn't originally build:
- Sealant used as the only water barrier, with no sill pan flashing underneath it
- Flashing lapped in the wrong order, directing water behind the WRB instead of over it
- One window spec ordered for the whole house regardless of which way each wall faces
- Windows shimmed loosely "to get the job moving" instead of squared to the frame manufacturer's tolerance
These aren't brand problems — they're installation-discipline problems, and they're entirely avoidable with the right sequence and the right amount of care on day one.
Get a Straight Answer for Your Little Mountain Build
If you're coordinating windows for a new build in the Little Mountain area, we're happy to walk your plans, talk through frame and glazing options for your specific lot exposure, and give you a clear, no-pressure estimate. Fill out the form below and we'll get back to you with honest answers, not a sales pitch.