 Mount Vernon
 Storm Damage Roof Repair for Burlington Homes
Burlington sits right in the path of the wind-and-rain systems that roll off Puget Sound and up the Skagit Valley every fall and winter. Most storm damage here isn't dramatic — it's not a tree through the roof. It's a run of shingles lifted by a gust, a flashing seam that finally gave up after years of driving rain, or a soft spot that started as a small leak and turned into a soggy patch of sheathing nobody noticed until it stained a ceiling. Because the damage is often quiet, it's easy to put off dealing with it, and that delay is usually what turns a $400 repair into a $4,000 one.
This page is about one job, done right, in one place: storm-related roof repair for homes in and around Burlington. Not a full re-roof pitch, not a generic "we fix roofs" page — the specific work that comes up after a windstorm or a hard winter in this part of Skagit County.
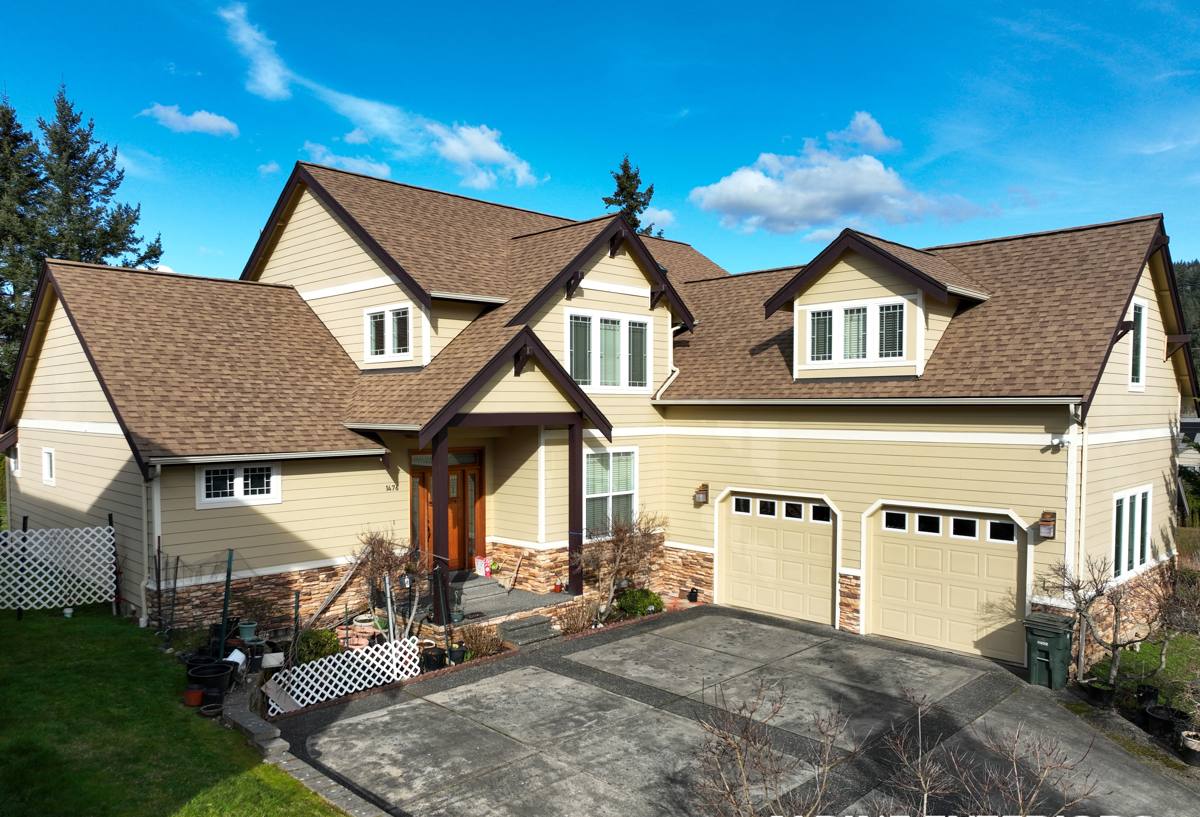
What Storm Damage Actually Looks Like Here
Homeowners often expect storm damage to be obvious. Around Burlington, it usually isn't. The damage patterns we see most often after a storm system moves through include:
- Shingles lifted or creased at the edges from sustained wind, even if none blew off completely
- Flashing around chimneys, vents, and roof-wall intersections pulled loose or bent
- Granule loss on asphalt shingles from wind-driven rain, which shows up as bald patches or granules collecting in gutters
- Small punctures or bruising from wind-blown debris — branches, fence panels, loose siding from a neighboring structure
- Water intrusion at valleys and low-slope sections where standing water sat during a heavy rain event
- Moss and organic growth that got worse after a storm pried up shingle edges, giving moisture a new entry point
That last one is the piece that's specific to this area. Skagit County's mild, wet winters and long moss season mean a roof that took minor storm damage in November can have real rot underneath by February if nobody looked at it closely. Moss doesn't cause storm damage, but it hides it — a lifted shingle edge under a mat of moss is easy to miss during a quick visual check.
Salt Air and Driving Rain
Burlington isn't oceanfront, but it's close enough to Puget Sound and the Salish Sea that homes here still deal with salt-laden air during onshore wind events, especially on the exposed sides of a roof. Combined with driving rain that gets pushed sideways under shingle tabs and around flashing, fasteners and flashing metal corrode faster here than they would inland. A repair that ignores this — using the wrong fastener or generic flashing instead of something rated for coastal-adjacent exposure — tends to fail again within a couple of seasons.
What a Correct Storm Repair Actually Involves
A lot of "storm repairs" are really just patch jobs — a few shingles swapped, some roofing cement smeared over a seam, done in twenty minutes. That kind of work can hide a problem instead of fixing it. A repair done properly starts with figuring out how far the damage actually extends, not just where it's visible.
Our Process
- Inspection first. We walk the roof (weather permitting) or use a ladder-and-binoculars assessment when conditions don't allow foot traffic, checking not just the obvious damaged area but the surrounding field, valleys, and penetrations.
- Check the deck, not just the shingles. If water has been getting in, the sheathing underneath may be soft or delaminating. Shingles get replaced all the time over a rotting deck — that's how a "repair" turns into a callback six months later.
- Match materials where it matters. On a visible slope, we try to match existing shingle color and profile as closely as the manufacturer's current line allows. On less visible sections, exact match matters less than a sound seal.
- Re-flash, don't just re-caulk. Caulk over old flashing is a temporary fix at best. If flashing has been compromised, we replace it — step flashing, counter-flashing, or pipe boots as needed.
- Underlayment where it's exposed. Any time we're pulling shingles up to get at damage, it's a chance to check and, if needed, replace the underlayment beneath — cheap insurance against the next storm.
- Document before and after. Photos of the damage and the completed repair, useful both for your own records and for insurance if you're filing a claim.
Repair Approach: Matching the Fix to the Damage
| Situation | Typical Approach | What to Watch For |
|---|---|---|
| A handful of shingles lifted or missing after one storm | Targeted shingle replacement, re-seal, spot-check deck | Confirm no hidden moisture under adjacent shingles before closing it up |
| Flashing damage at chimney, skylight, or vent | Full flashing replacement at that penetration, not just re-caulking | Caulk-only fixes are common shortcuts and rarely last a full season here |
| Repeated leaks in the same spot over multiple storms | Deck inspection and repair, then re-roofing of that section | Recurring leaks usually mean deck damage, not just surface damage |
| Moss-heavy roof with storm damage underneath | Moss removal, damage repair, treatment to slow regrowth | Removing moss without repairing what's under it just exposes the problem |
| Widespread damage across most of one or more slopes | Partial or full re-roof of the affected slope(s) | At a certain point, patch repairs cost more cumulatively than replacement |
Insurance and Storm Claims
Many storm repairs in this area are at least partly covered by homeowners insurance, especially when there's a documented wind or rain event tied to the damage. A few practical notes:
- Photograph damage as soon as it's safely visible, before any tarping or temporary repair
- Get an inspection promptly — insurers often have windows for filing after a storm event
- Ask for a written estimate that itemizes the repair scope, not just a lump sum
- Understand that cosmetic granule loss alone is sometimes not covered the same way structural or leak-causing damage is
We're not an insurance adjuster and won't pretend to be one, but we can give you an honest, itemized assessment of what's damaged and what it takes to fix it — documentation that's useful whether or not you end up filing a claim.
Why It Matters to Hire a Crew That Already Works in Burlington
Storm damage repair isn't the kind of job where unfamiliarity is a small issue. A crew that doesn't regularly work in the Skagit Valley may not think to check for the moss-related rot patterns common here, may not carry the corrosion-resistant fasteners and flashing worth using this close to the Sound, and may not know which roofing lines are actually stocked locally versus a two-week special order — which matters a lot when there's an active leak.
There's also a simple availability issue: after a significant regional storm, roofing crews get slammed with calls across the whole county. A contractor who already has a base of Burlington and Mount Vernon customers tends to prioritize repeat-area work and can often get to an active leak faster than an outfit dispatching from farther away.
Temporary Protection vs. Permanent Repair
If a storm just hit and you've got an active leak, the first move is stopping water intrusion, not necessarily a full permanent fix on the spot. Tarping a damaged section, sealing an obvious gap, or diverting water away from an interior space are legitimate short-term steps. The mistake is treating a tarp as the solution rather than a stopgap. Tarps degrade fast in this climate's wind and rain, and a "temporary" tarp left up through an entire wet season almost always means more damage underneath by the time it's addressed properly.
What to Check After a Storm
- Look at your gutters and downspouts for shingle granules — a sign of wind or hail abrasion
- Check ceilings and attic spaces (if accessible) for new water stains after any significant storm
- Scan the roofline from the ground for shingles that look lifted, curled, or out of alignment
- Note any debris — branches, siding pieces, fence sections — that landed on or near the roof
- Check chimney and vent flashing for anything visibly bent or separated
- If moss is present, note whether it looks disturbed or lifted at the edges compared to before the storm
- Don't get on the roof yourself if it's wet, mossy, or steep — that's a fall risk, and it's exactly the kind of check we're set up to do safely
Getting It Right the First Time
The cost of storm repair depends heavily on how much of the roof is affected, whether the deck was compromised, how accessible the roof is, and how closely a shingle match is needed on a visible slope. Small, isolated repairs are typically a few hundred dollars; anything involving deck replacement or a full slope re-roof runs into the thousands. We'd rather give you an honest range after actually looking at the damage than a number over the phone that turns out to be wrong either way.
If your home in Burlington or the greater Mount Vernon area took storm damage — or you're just not sure whether that lifted shingle or damp patch is worth worrying about — we're happy to take a look. The estimate is free, there's no pressure to move forward, and you'll get a straight answer about what actually needs fixing.