 Mount Vernon
 Why Siding Fails Faster on This Side of Mount Vernon
East Mount Vernon sits far enough inland to escape the worst of direct coastal spray, but Skagit County still hands every exterior wall three things it has to fight off year-round: salt-tinged marine air pushed up from the Sound and delta, long stretches of driving rain that come in sideways during winter storms, and a moss season that can run eight months or more in shaded, north-facing spots. None of these three things individually is unusual for western Washington. Together, applied to the same wall assembly year after year, they're exactly the conditions that separate siding that lasts thirty years from siding that starts failing at twelve.
Salt air accelerates corrosion on fasteners, flashing, and any exposed metal trim. Driving rain finds the smallest gap in caulking, flashing, or a butt joint and pushes water behind the siding rather than letting it run off the face. And moss doesn't just look bad — it holds moisture against the siding surface far longer than open air ever would, which is exactly the condition that rots wood-based products and stresses paint films on anything not engineered for it. A repair that ignores any one of these three factors is a repair that fails again within a few years.
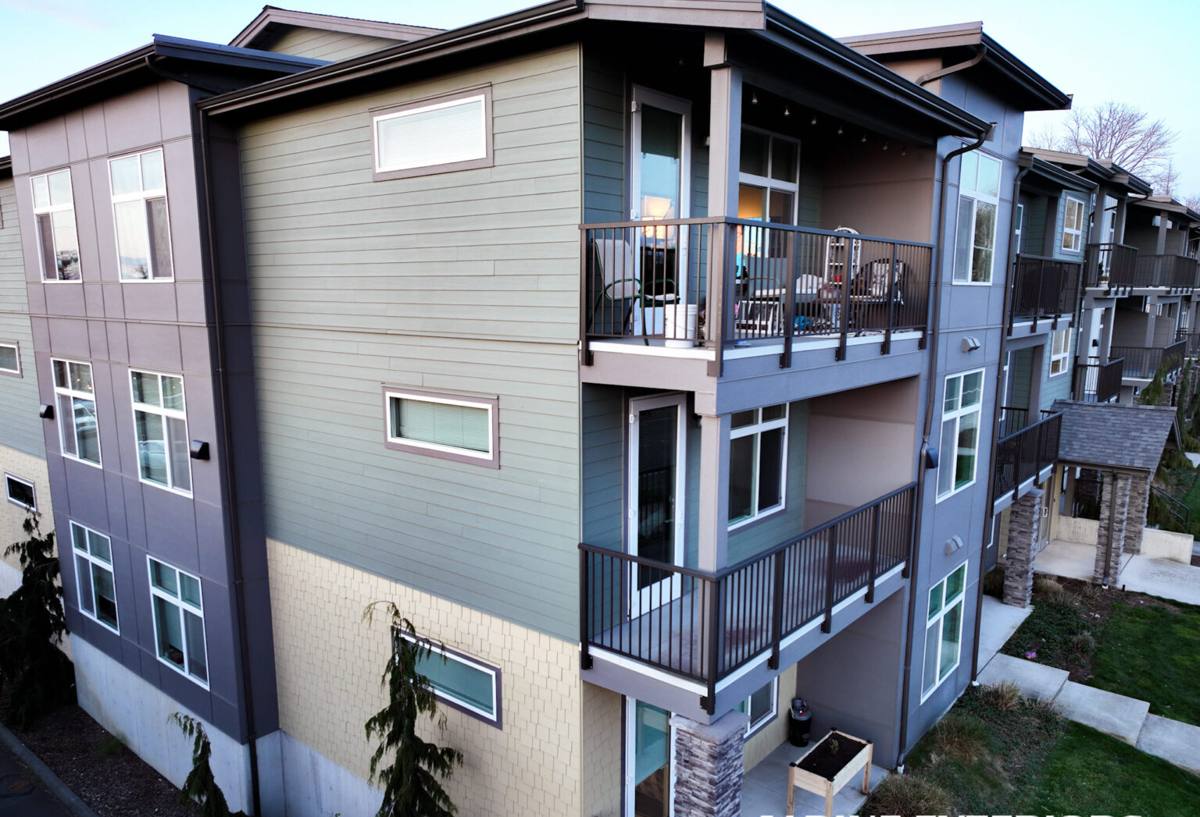
Signs Your Siding Actually Needs Repair
Most siding repair calls in this neighborhood fall into a handful of repeat patterns. Knowing which one you're looking at helps you describe the problem accurately and get a straight answer about scope.
Common East Mount Vernon damage patterns
- Soft or swollen boards near ground level, under downspouts, or wherever a roofline dumps water onto a wall — a sign moisture has been sitting against the material longer than it should.
- Cracked or separated caulk joints at corners, window trim, and butt joints, usually the first failure point that lets driving rain behind the siding.
- Moss and algae staining on north- and west-facing walls and anywhere shaded by mature trees or a neighboring structure — cosmetic at first, but a moisture-retention problem underneath.
- Rusting or streaking nail heads, more common here than in drier inland climates because of the salt content in the air.
- Warped or bowed panels on older wood-based or engineered wood siding that has absorbed water repeatedly through end grain or damaged caulk joints.
- Paint failure — peeling, chalking, or bubbling — well ahead of when a proper factory finish should need attention.
Some of these are surface issues a repair can fully resolve. Others are a sign that whatever is underneath the siding — sheathing, house wrap, framing — has already taken on water, and the visible siding damage is just the symptom you can see.
What a Correct Repair Actually Involves
A siding repair that's done right is not just "cut out the bad piece and nail in a new one." On a home that's been exposed to Skagit County weather for a decade or more, a repair has three real jobs to do at once.
1. Find out what's behind the damage
Before anything gets replaced, the area around the damage needs to be opened up enough to check the house wrap, flashing, and sheathing underneath. If water has been getting behind the siding for a while, patching the visible board and leaving wet sheathing in place just buries the problem — it will resurface, usually worse, within a season or two.
2. Fix the water path, not just the symptom
Most repair failures trace back to a flashing or caulking detail that was never corrected the first time. Proper repair work re-establishes correct water shedding — kickout flashing where a roofline meets a wall, proper laps at horizontal joints, correct clearance at grade — so the same failure doesn't happen again in the same spot.
3. Match the existing material honestly
If your home has fiber cement siding, a proper repair uses fiber cement, cut and finished to match the existing profile and reveal. If your home has an older, less durable product — old primed spruce, an aging engineered wood, or vinyl — we'll tell you plainly what we can patch versus what should really be planned for a future full replacement, and why. We don't install those products, but we're not going to pretend a competent repair isn't possible on a home that already has them; we'll just be honest about the ceiling on how long that repair will hold.
Repair vs. Replace: How We Actually Decide
This is the question every homeowner asks, and it deserves a straight answer rather than an upsell. Here's the general framework we use on East Mount Vernon calls:
| Situation | Usually a Repair | Usually Points Toward Replacement |
|---|---|---|
| Damage extent | Isolated to one or two wall sections | Recurring damage across multiple elevations |
| Underlying sheathing | Dry, sound once opened up | Soft, delaminated, or water-stained |
| Siding material | Fiber cement or otherwise sound material | Failing wood-based or older engineered product nearing end of life |
| Cause of damage | One identifiable, fixable flashing/caulk failure | Systemic issue — original install lacked proper water management |
| Home's overall siding age | Younger install, isolated incident | Siding already near or past its expected service life |
If a repair is the honest answer, that's what we'll recommend and price. If what you're really looking at is a full replacement wearing a repair-sized problem, we'll say that too — with the reasoning, not just a bigger number.
Why Material Choice Matters Even for a Repair
When a repair does call for replacing a section of siding entirely — or when a homeowner decides a partial repair isn't worth doing on material that's near the end of its life anyway — we only work with James Hardie fiber cement. That's not a marketing position, it's a standard we set for our own crews based on what holds up under exactly the conditions East Mount Vernon deals with.
Hardie's fiber cement is non-combustible and dimensionally stable, meaning it doesn't swell, shrink, or warp with the seasonal moisture swings that come with a marine climate. The ColorPlus factory finish is baked on under controlled conditions rather than field-applied, which matters a great deal in a place where paint has to survive constant damp and periodic salt exposure — it holds color and resists the peeling and chalking we see regularly on older wood-based siding in this area. Hardie also engineers specific product lines (their HZ5 line, for example) for climate zones like ours, accounting for moisture exposure in a way that generic siding products don't.
We won't install LP SmartSide, vinyl, Cemplank, Allura, primed spruce, or cedar. Each has real strengths, and we're happy to talk through the honest trade-offs on any of them if you're comparing products — but for the repair and replacement work we stand behind, Hardie is what we put on walls.
Our Process for a Repair Call in This Neighborhood
1. On-site inspection
We look at the visible damage, but also walk the rest of the exterior — damage on one wall often has a sibling problem starting somewhere less obvious, especially on homes exposed to prevailing wind-driven rain.
2. Open it up before we quote
For anything beyond a cosmetic fix, we open the affected area enough to see the sheathing and house wrap condition before giving a final scope and price. That avoids the situation where a "small repair" turns into a change order once work has already started.
3. Fix the cause, then the cosmetic damage
Flashing, house wrap, and water-shedding details get corrected first. Siding replacement or patching happens last, once we know water won't be getting behind it again from the same source.
4. Match and finish
Where we're patching into existing Hardie siding, we match profile, reveal, and color as closely as the product line allows. Where a full section is being redone, we'll walk you through current ColorPlus options.
Keeping Repaired Siding From Failing Again
A repair is only as good as what happens to the wall over the following years. In a climate with this much rain and moss pressure, a little maintenance goes a long way toward protecting the work.
- Keep gutters and downspouts clear so water isn't dumping directly onto a wall section — this is one of the most common repeat-damage causes we see.
- Trim back vegetation and tree cover where practical to reduce shaded, damp zones that feed moss growth.
- Rinse visible moss and algae growth off siding surfaces before it builds up into a moisture-holding mat, using a gentle low-pressure approach rather than a pressure washer aimed directly at joints.
- Re-caulk visible gaps at trim and corners promptly rather than waiting for a full season of driving rain to work its way in.
- Walk the exterior after major windstorms, common in this region in fall and winter, to catch new gaps or loosened trim early.
Why a Crew That Already Works East Mount Vernon Matters
Siding repair is a details business, and the right details are local. A crew that already works this part of Mount Vernon knows which orientations catch the worst of the driving rain, which older subdivisions tend to have a particular siding product installed that needs specific handling, and what proper flashing and water management actually looks like once you've opened up a dozen walls in this same climate. That's the difference between a repair that's cosmetically fine for a season and one that actually solves the water problem underneath.
If you're seeing soft boards, cracked caulk, persistent moss staining, or paint failure on your home, we're glad to take a look and give you a straight assessment — repair, replace, or leave it alone for now — with no pressure either way. Reach out for a free estimate using the form below.