 Mount Vernon
 Building New in Bow? Get the Windows Right the First Time
New construction is the one time you get to install windows the correct way from bare framing, before siding, house wrap, and trim close everything in. Bow sits close enough to Samish Bay and the open water of Skagit County that salt-laden air, wind-driven rain, and a long wet season are simply part of building here. A window installed with shortcuts on a new build doesn't fail in year one — it fails in year five or six, after the finishes are already covering the evidence. We install new-construction windows in Bow and the surrounding Mount Vernon area with that timeline in mind, not just the framing inspection in mind.
This page is about one job specifically: window installation on new-construction homes in Bow, done as part of the original build rather than a retrofit into an existing wall. It's a different scope than a remodel window swap, with different flashing sequencing, different coordination with your builder or GC, and different opportunities to get the building envelope right before it's ever tested by a storm.
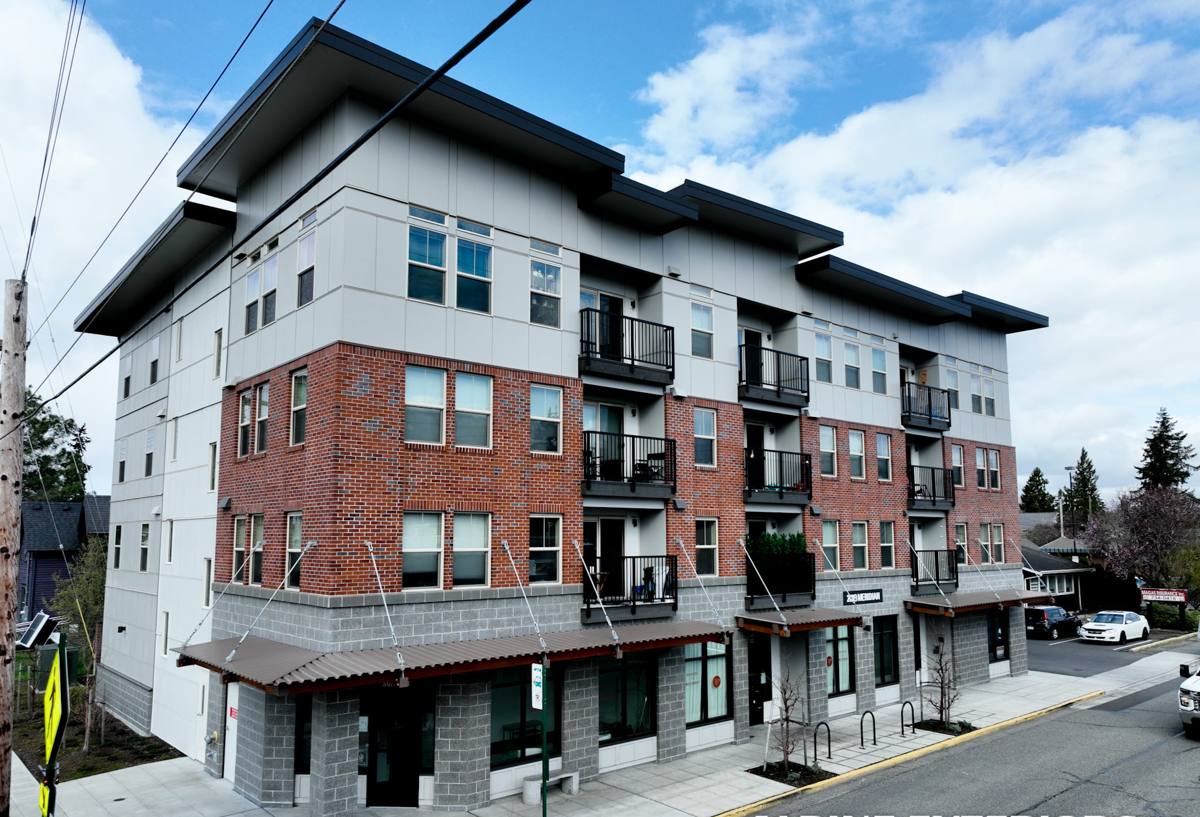
Why Bow's Climate Changes How a Window Should Go In
Bow doesn't get the harshest weather in western Washington, but it gets a steady combination that adds up over decades: onshore moisture off the bay, driving rain that hits walls at an angle rather than straight down, and a moss-and-algae season that runs long on any north- or west-facing exposure with poor drying conditions. None of that damages a window on its own. What it does is expose any gap in the flashing, any skipped bead of sealant, or any missed layer of house wrap integration — and it does it consistently, every wet season, for as long as the house stands.
What this means on a new build specifically
- Nail-fin windows need a fully lapped flashing sequence — sill pan first, then side flashing, then head flashing over the top — installed in the correct shingle-style order so water sheds outward at every layer.
- Sill pans matter more here than in drier climates. A sloped, sealed sill pan gives incidental water a way out instead of a place to sit against the framing.
- House wrap integration has to happen while the wall is still open. Once siding goes on, you can't verify that the wrap was properly lapped over the flashing fins.
- Rough openings should be sized with enough tolerance for shimming and sealant, not cut tight to the window frame.
What a Correct New-Construction Install Actually Involves
"New-construction window" refers to the window's flange type, not the skill level required to hang it. A nail-fin window installed casually is one of the more common sources of long-term water intrusion we see opened up during later remodels — and it's almost always avoidable at the framing stage.
The sequence we follow
- Rough opening check. We verify the opening is square, level, and sized correctly before the window ever shows up on site — catching a framing error now is a phone call, not a change order later.
- Sill pan flashing. A sloped pan, back-dammed so water can't run inward toward the subfloor or framing, with the pan's edges sealed and lapped correctly with the wall's water-resistive barrier.
- Window set and shim. The unit gets shimmed plumb, level, and square, then fastened per the manufacturer's schedule — not just at the corners.
- Side and head flashing. Flashing tape or flashing membrane applied in strict shingle order (bottom, sides, top) so every layer sheds water onto the layer below it, never into a seam.
- House wrap integration. The wrap gets cut, folded, and taped back over the flashing fins so the window becomes part of one continuous drainage plane, not a patch in it.
- Interior and exterior sealant. Backer rod and sealant where called for, with attention to leaving the sill's weep path clear rather than sealing it shut.
Every one of these steps is inspectable while the wall is open. That's the advantage of new construction over a retrofit — and the reason it's worth having a crew on site who treats each step as load-bearing to the whole system, not a formality.
Choosing Windows for a Bow New Build
Product selection matters less than installation quality, but it's not irrelevant — especially given the moisture load this area sees. We steer new-construction clients toward vinyl or fiberglass frames with a documented flashing and fin system, because those frames handle Skagit County's freeze-thaw swings and sustained wet weather without the maintenance burden that wood cladding or bare wood sash can carry near the water. Wood-interior/clad-exterior windows are a legitimate choice for the look, but they come with a maintenance schedule you should go in knowing about, not one you discover at year eight when finish failure shows up at the sill.
Frame material trade-offs for this area
| Frame Type | Moisture Behavior Here | Maintenance | Typical Fit |
|---|---|---|---|
| Vinyl | Won't rot; handles sustained damp exposure well | Low — occasional cleaning | Most new-construction Bow homes, value-focused builds |
| Fiberglass | Very stable in temperature swings and moisture; minimal expansion/contraction | Low | Higher-end new builds, larger window units |
| Wood-clad | Exterior clad protects wood, but any finish breach lets moisture into wood core | Higher — finish inspection and touch-up over time | Homeowners who want a wood interior look and will maintain it |
| Aluminum | Conducts cold, prone to condensation in our damp winters unless thermally broken | Moderate | Specific architectural styles; needs a thermal break spec here |
Coordinating With Your Builder or GC
On most new-construction jobs in Bow, we're one piece of a larger build sequence — framing crew, house wrap, windows, then siding and trim. Getting the timing right matters as much as getting the flashing right.
- We coordinate directly with your general contractor or framing crew so windows go in at the right point in the wrap sequence, not before wrap is up or after siding prep has already started.
- We flag any rough-opening or framing issues immediately, before they become a hold-up for the trades behind us.
- We document the flashing install with photos at each stage, since it's the one point in the build where this work is fully visible and verifiable.
- We work around your build schedule and Skagit County's inspection windows rather than making you work around ours.
Weathertightness Testing and Inspection Points
New construction gives you a chance most remodels don't: the ability to verify the work before it's covered up. On new-construction window installs we treat a few points as non-negotiable checkpoints before siding closes the wall in.
Checklist before siding goes on
- Sill pan is sloped outward and fully sealed at the corners, with no gaps at the pan-to-jamb transition.
- Flashing tape is applied in correct shingle order — no reverse laps that would funnel water behind the wrap.
- House wrap is cut, folded, and taped cleanly at all four corners of the opening, with no exposed sheathing.
- Window is confirmed plumb, level, and square, and operates smoothly (opens, closes, and locks without binding).
- Fastening schedule matches the window manufacturer's specification, which also keeps the manufacturer's warranty intact.
- Interior sealant leaves weep holes and drainage paths clear rather than sealed over.
If your builder or municipality requires a pre-siding inspection, this is also the stage where that inspection happens — and it's far easier to correct an issue here than after the siding crew has already started.
Why Local Experience in Bow and Skagit County Matters
A window installer who mostly works drier inland climates can do competent work and still miss the details that matter here — the sill pan slope that accounts for driving rain off the bay, the flashing lap sequence that holds up through a long wet season, the frame choice that won't need refinishing every few years under moss and algae pressure. We work Bow, Mount Vernon, and the rest of Skagit County regularly, which means we're not guessing at how this area's weather behaves — we're building to what we've already seen it do to work that wasn't installed with it in mind.
We also know the practical side of building here: typical rough-opening tolerances used by area framing crews, how Skagit County's building department wants moisture-barrier and flashing details documented, and how to sequence around the rain windows that show up even in the drier months. That local familiarity shortens your build schedule instead of adding delays to it.
What This Costs and What Drives the Number
New-construction window installation is priced differently than a retrofit — there's no old window to remove, but there's more flashing and wrap-integration labor per unit, and total cost scales with window count, size, and product tier. Rather than quote a number that won't match your specific plan, here's what actually moves the price on a Bow new build.
| Factor | Why It Matters |
|---|---|
| Number and size of window openings | More openings and larger units mean more flashing, more sealant, more labor hours |
| Frame material | Vinyl is generally the most economical; fiberglass and wood-clad cost more per unit |
| Glass package | Double vs. triple pane, and any low-E or gas-fill upgrades, affect unit cost |
| Wall assembly complexity | Rainscreen gaps, thicker wall systems, or unusual framing add install time |
| Site coordination | Tight scheduling around other trades can affect crew efficiency |
We'll walk your plans, count openings, and give you a real number tied to your actual window schedule — not a range pulled from a different job.
Get Your Bow New-Construction Windows Quoted Right
If you're framing a new home in Bow or elsewhere in the Mount Vernon area, the best time to bring in your window installer is before the walls are wrapped — not after. We'll review your plans, walk the site with your builder if needed, and give you a straightforward, no-pressure estimate for the window install. There's a form below to get that started.